


As tempting as it can be at the start of a project, when the creative juices are flowing and you just want to get going, it is prudent to spend a few minutes setting up the project file structure and considering just what it is that you are aiming for.
The modelling approach to creating something that will be used for visualisation will be completely different to that used for producing construction details. Why?

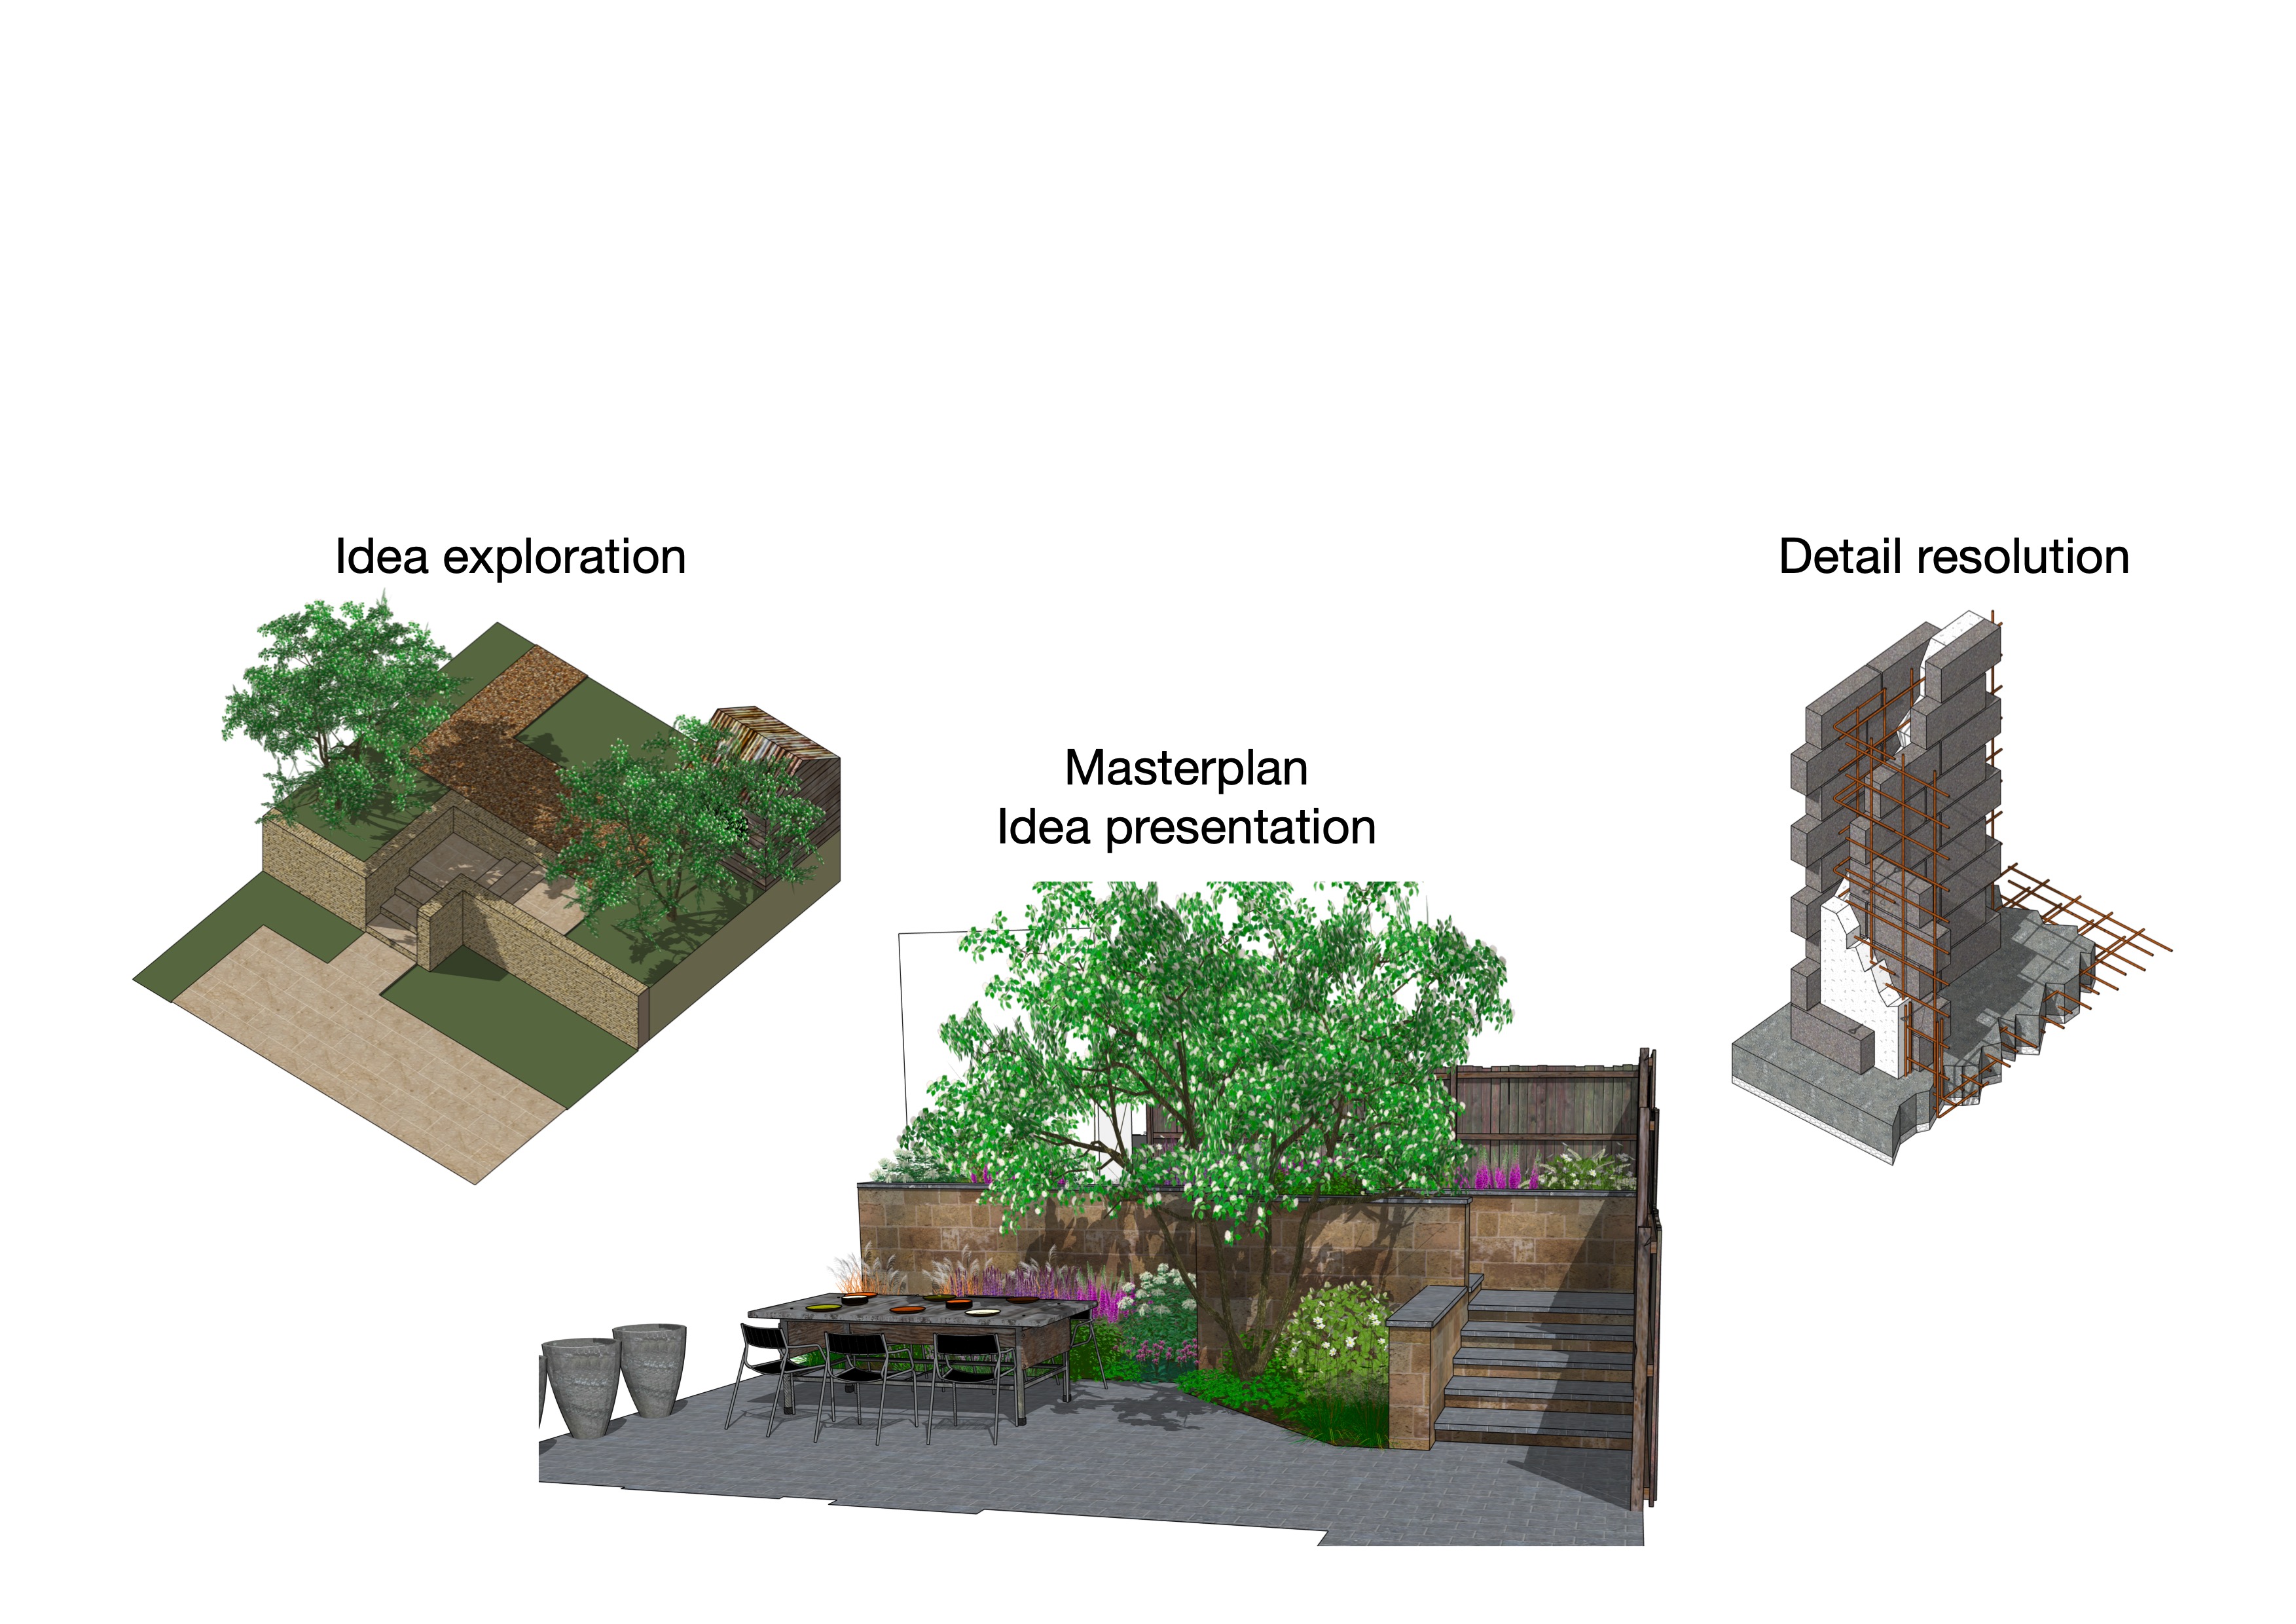
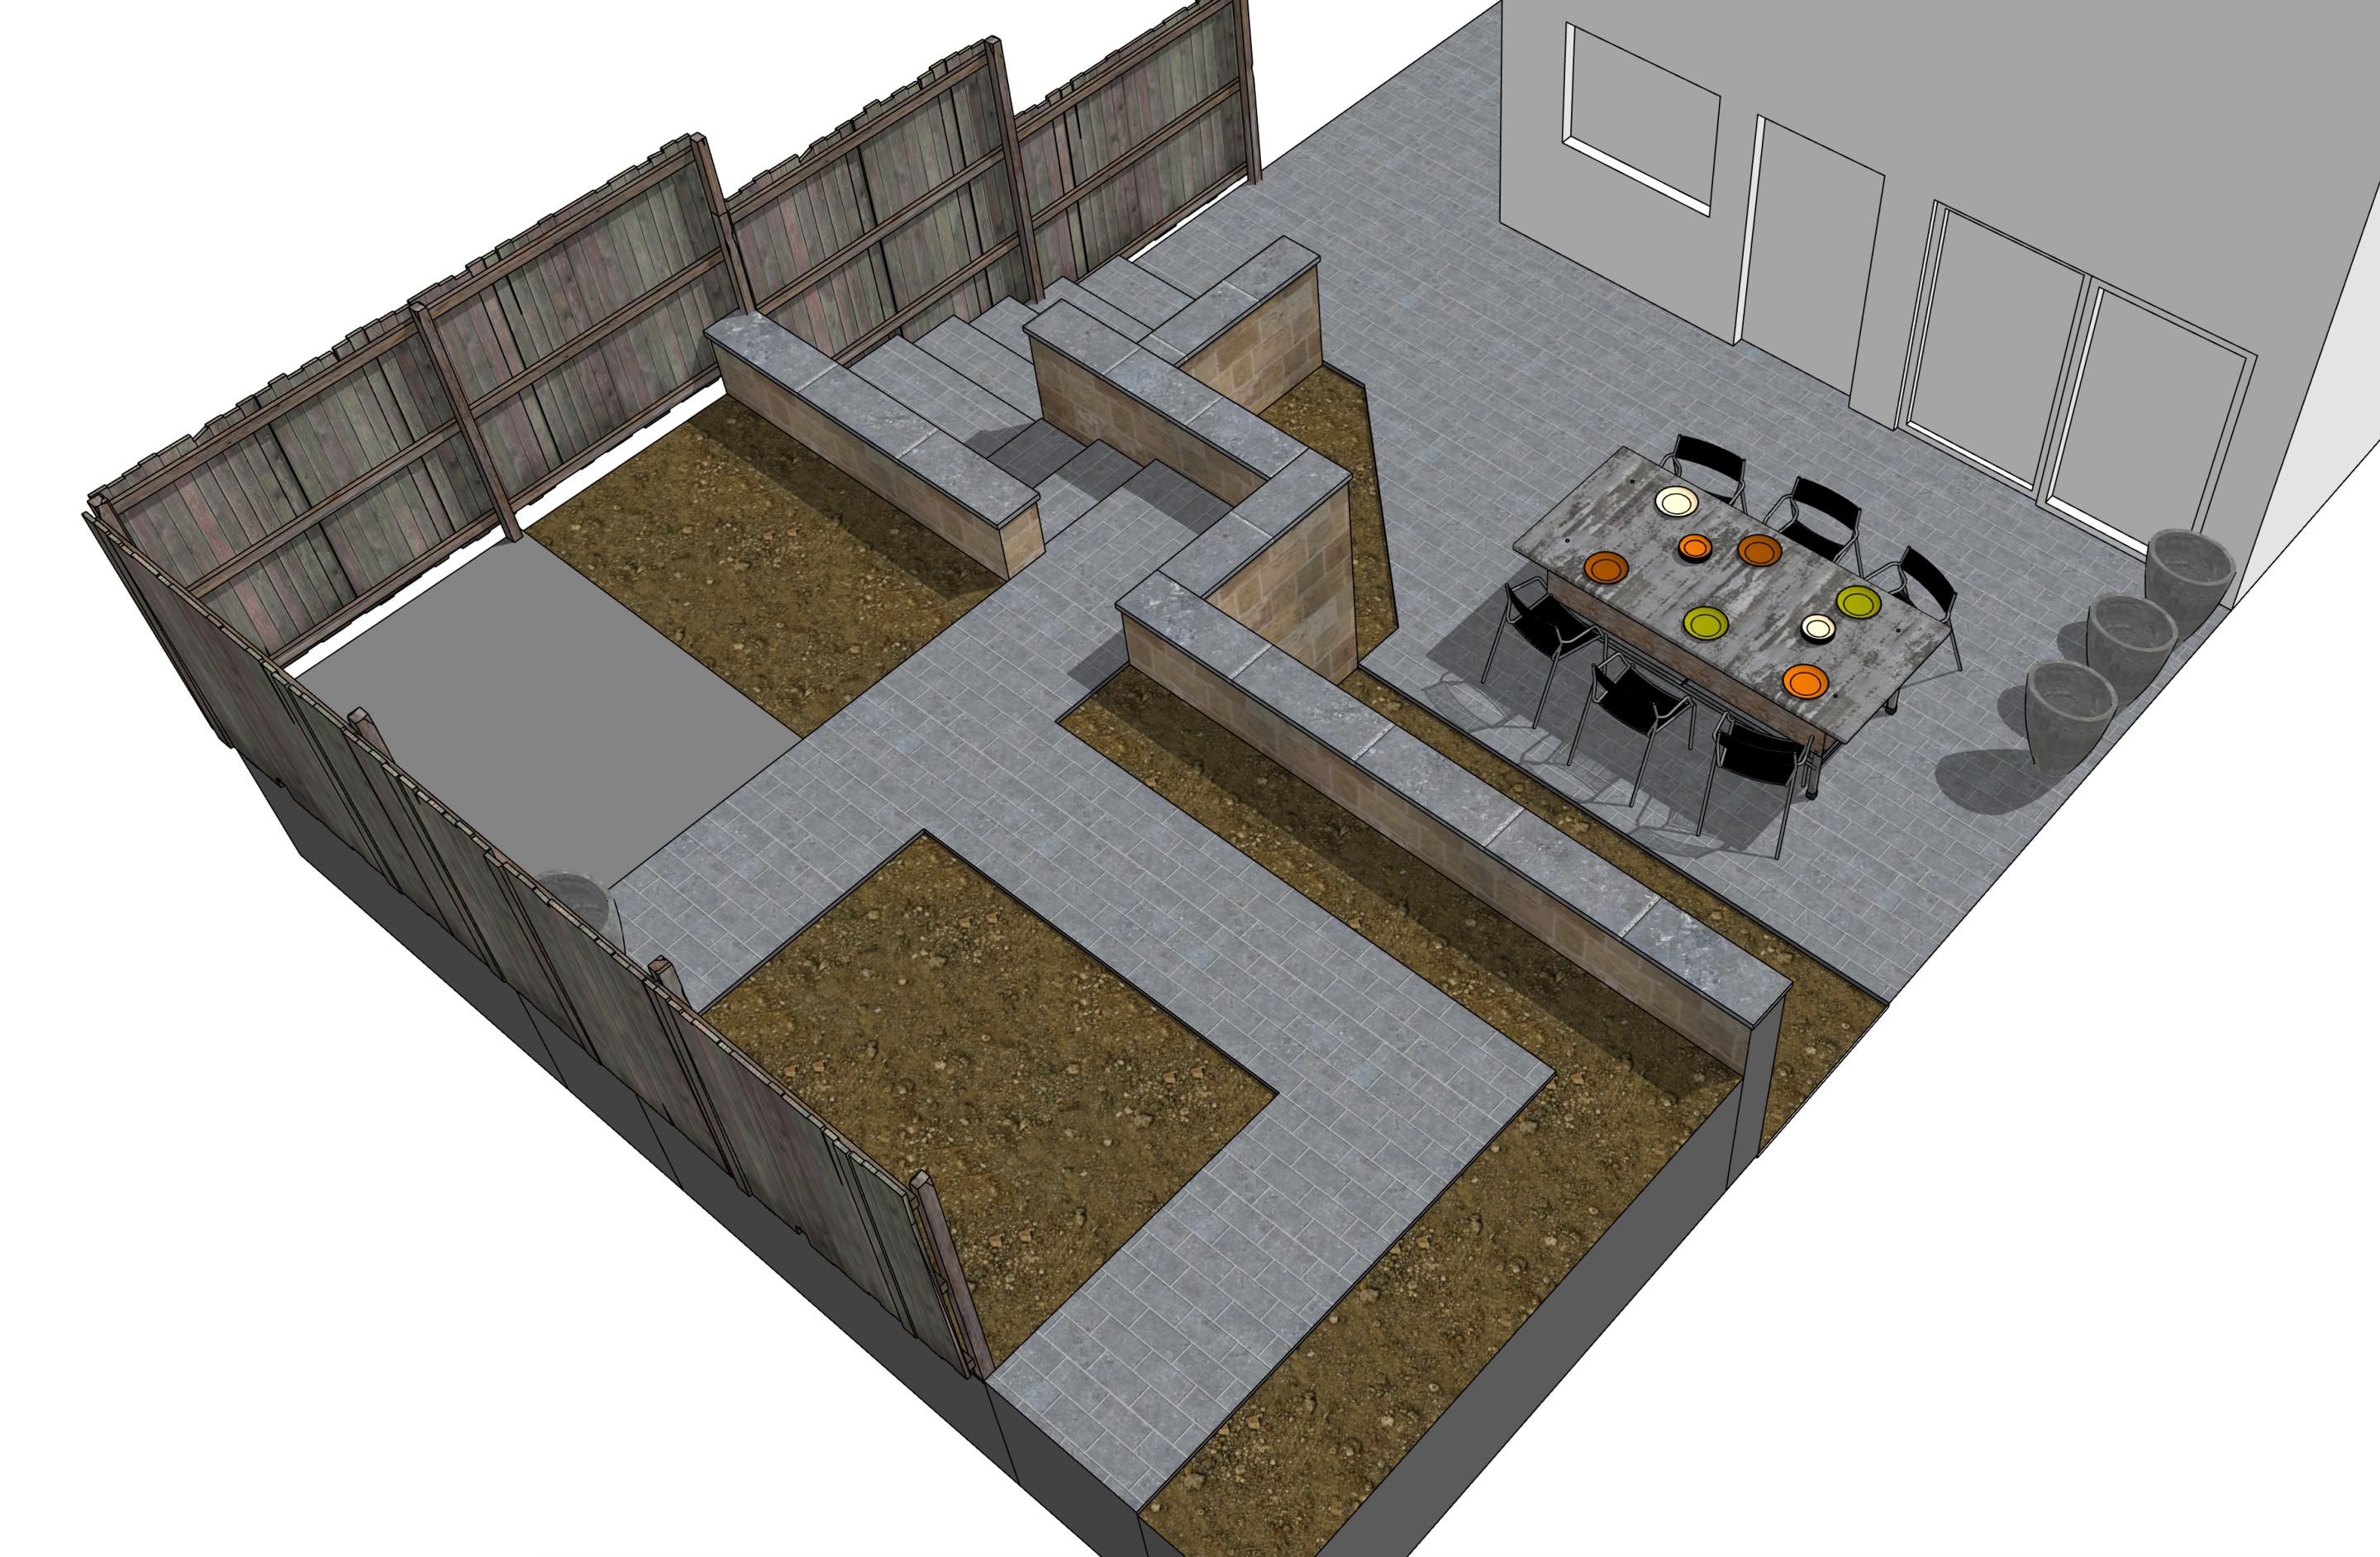
Consider the design process; until the client approves a design, the location and scale of features can remain fluid. There may be several meetings and iterations until the concept becomes fixed. This approved design is often called the master or concept plan. At this stage, the features (water, terrace, steps, planted areas) will be evident but unlikely to be detailed. The sizes will be indicative but not necessarily finalised. These will be resolved later as consideration is given to materials and construction techniques.
The modelling process in this pre-masterplan stage should be capable of accommodating alterations in size, location and texture. Such a model is frequently referred to as a ‘mass model’ consisting of surfaces and geometry that are pushed and pulled to achieve a specific form or ‘mass’ without too much effort being given to the individual components.

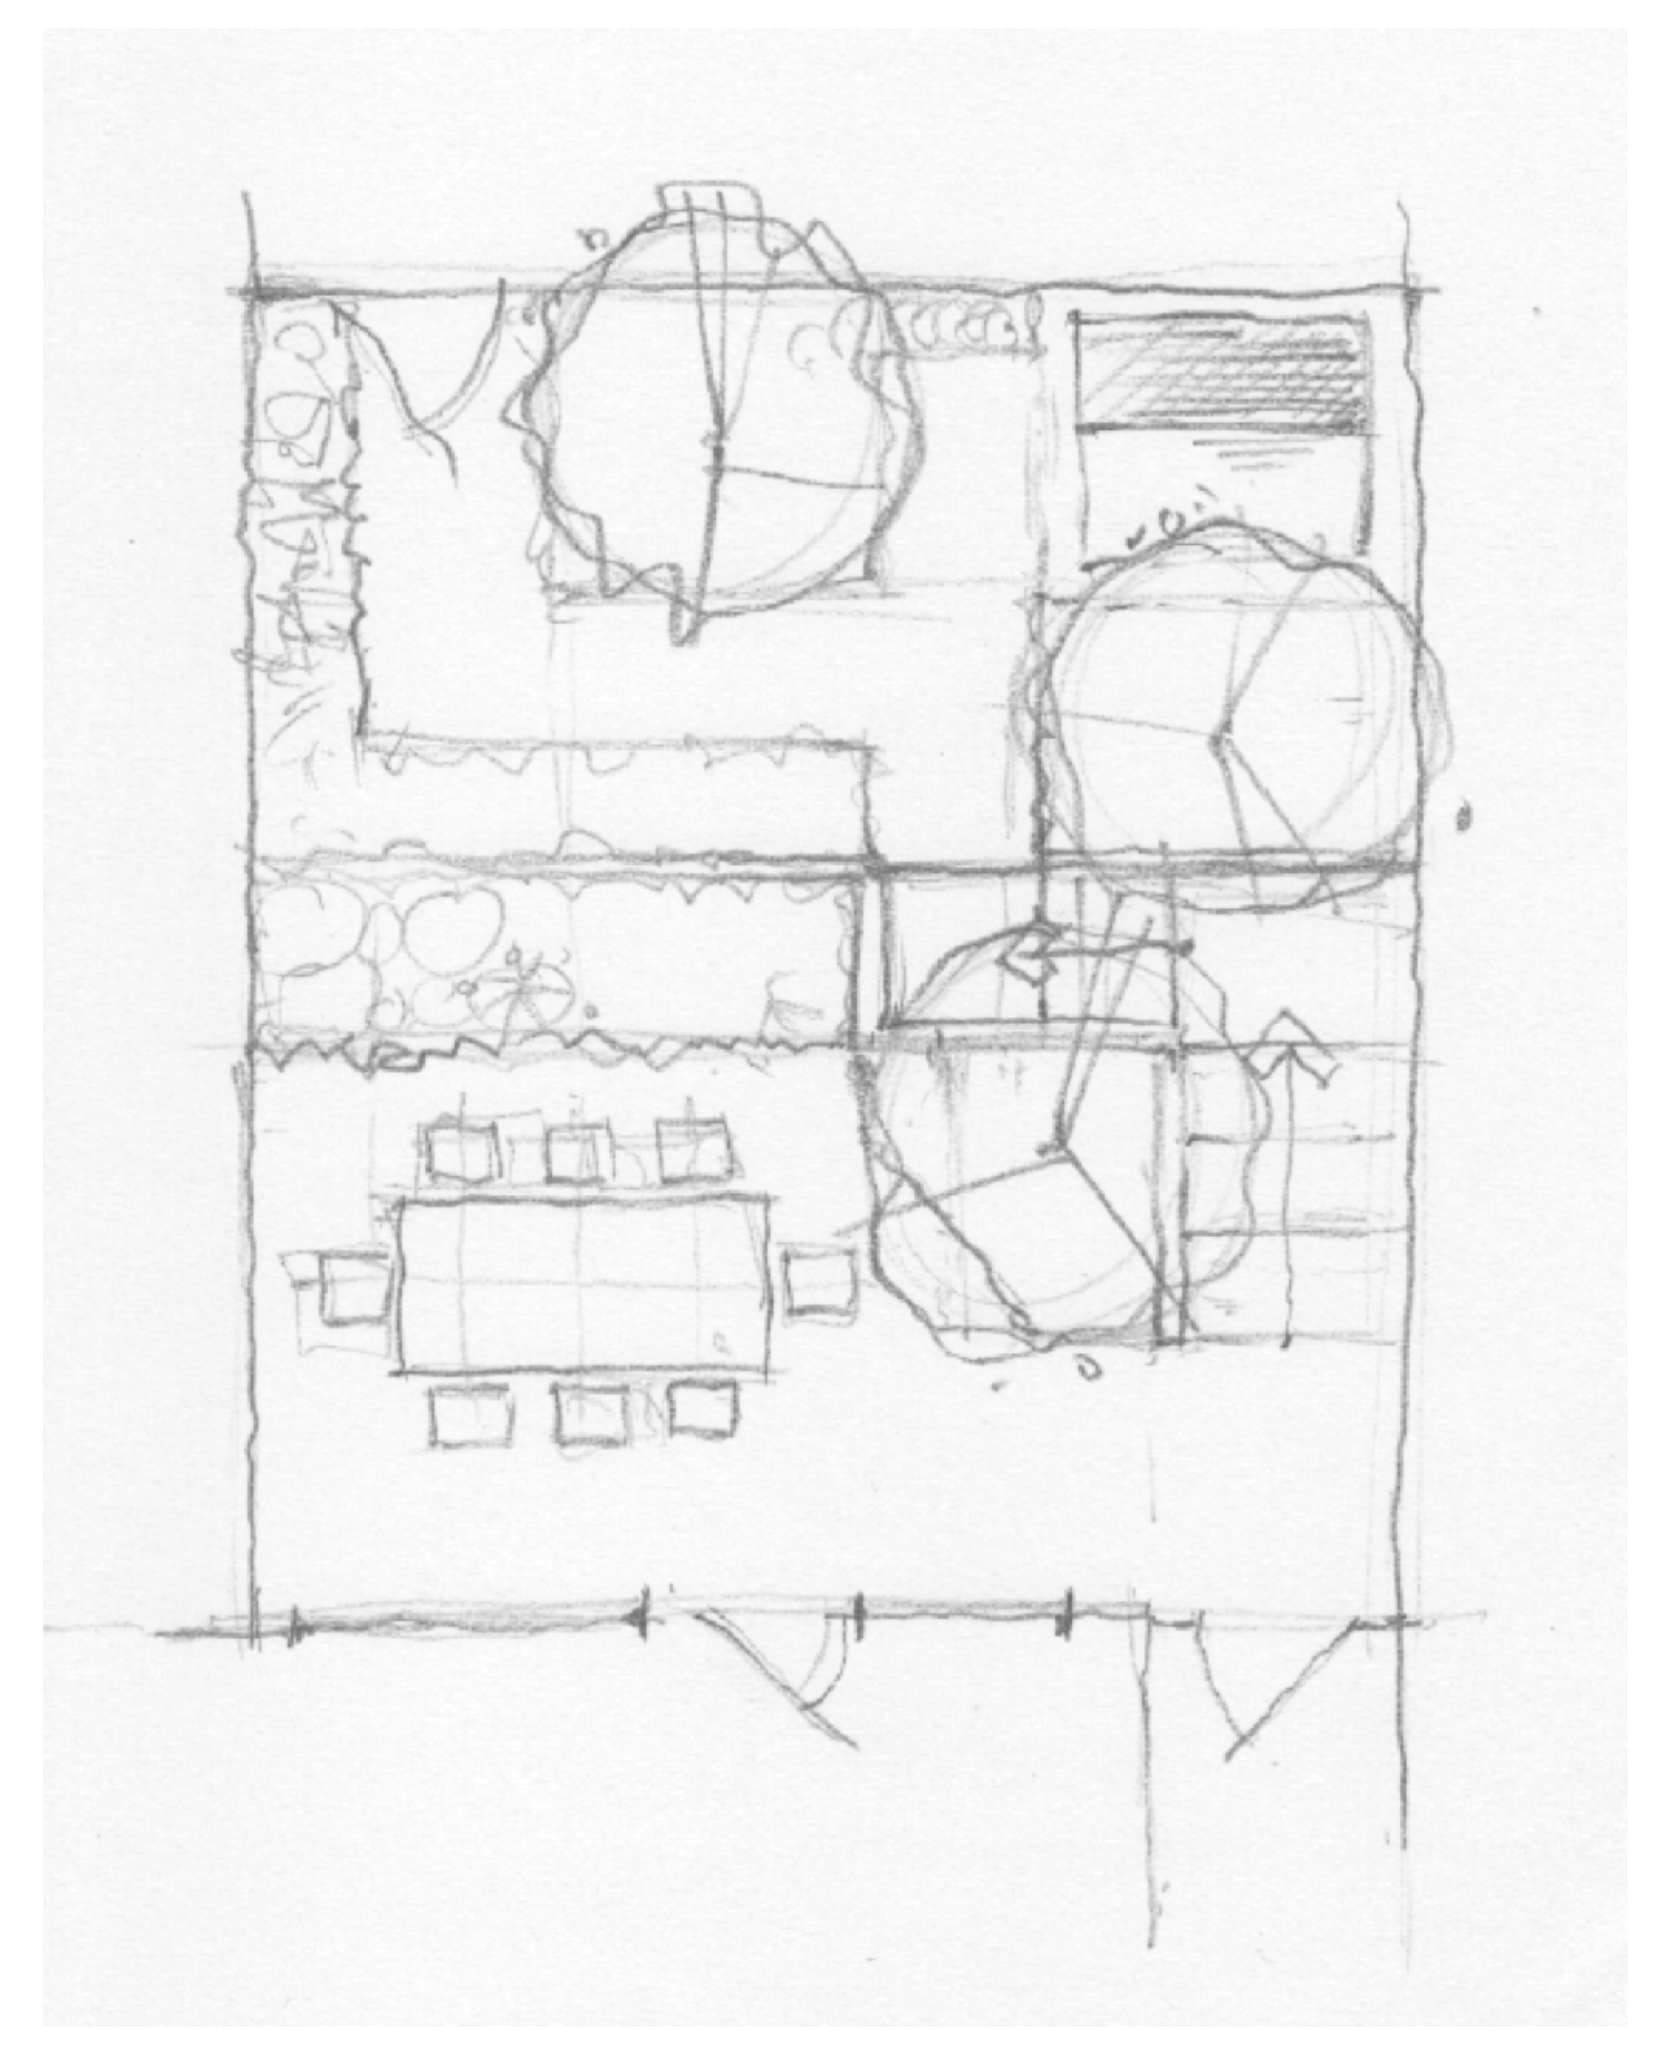
Imported sketch: set to correct scale
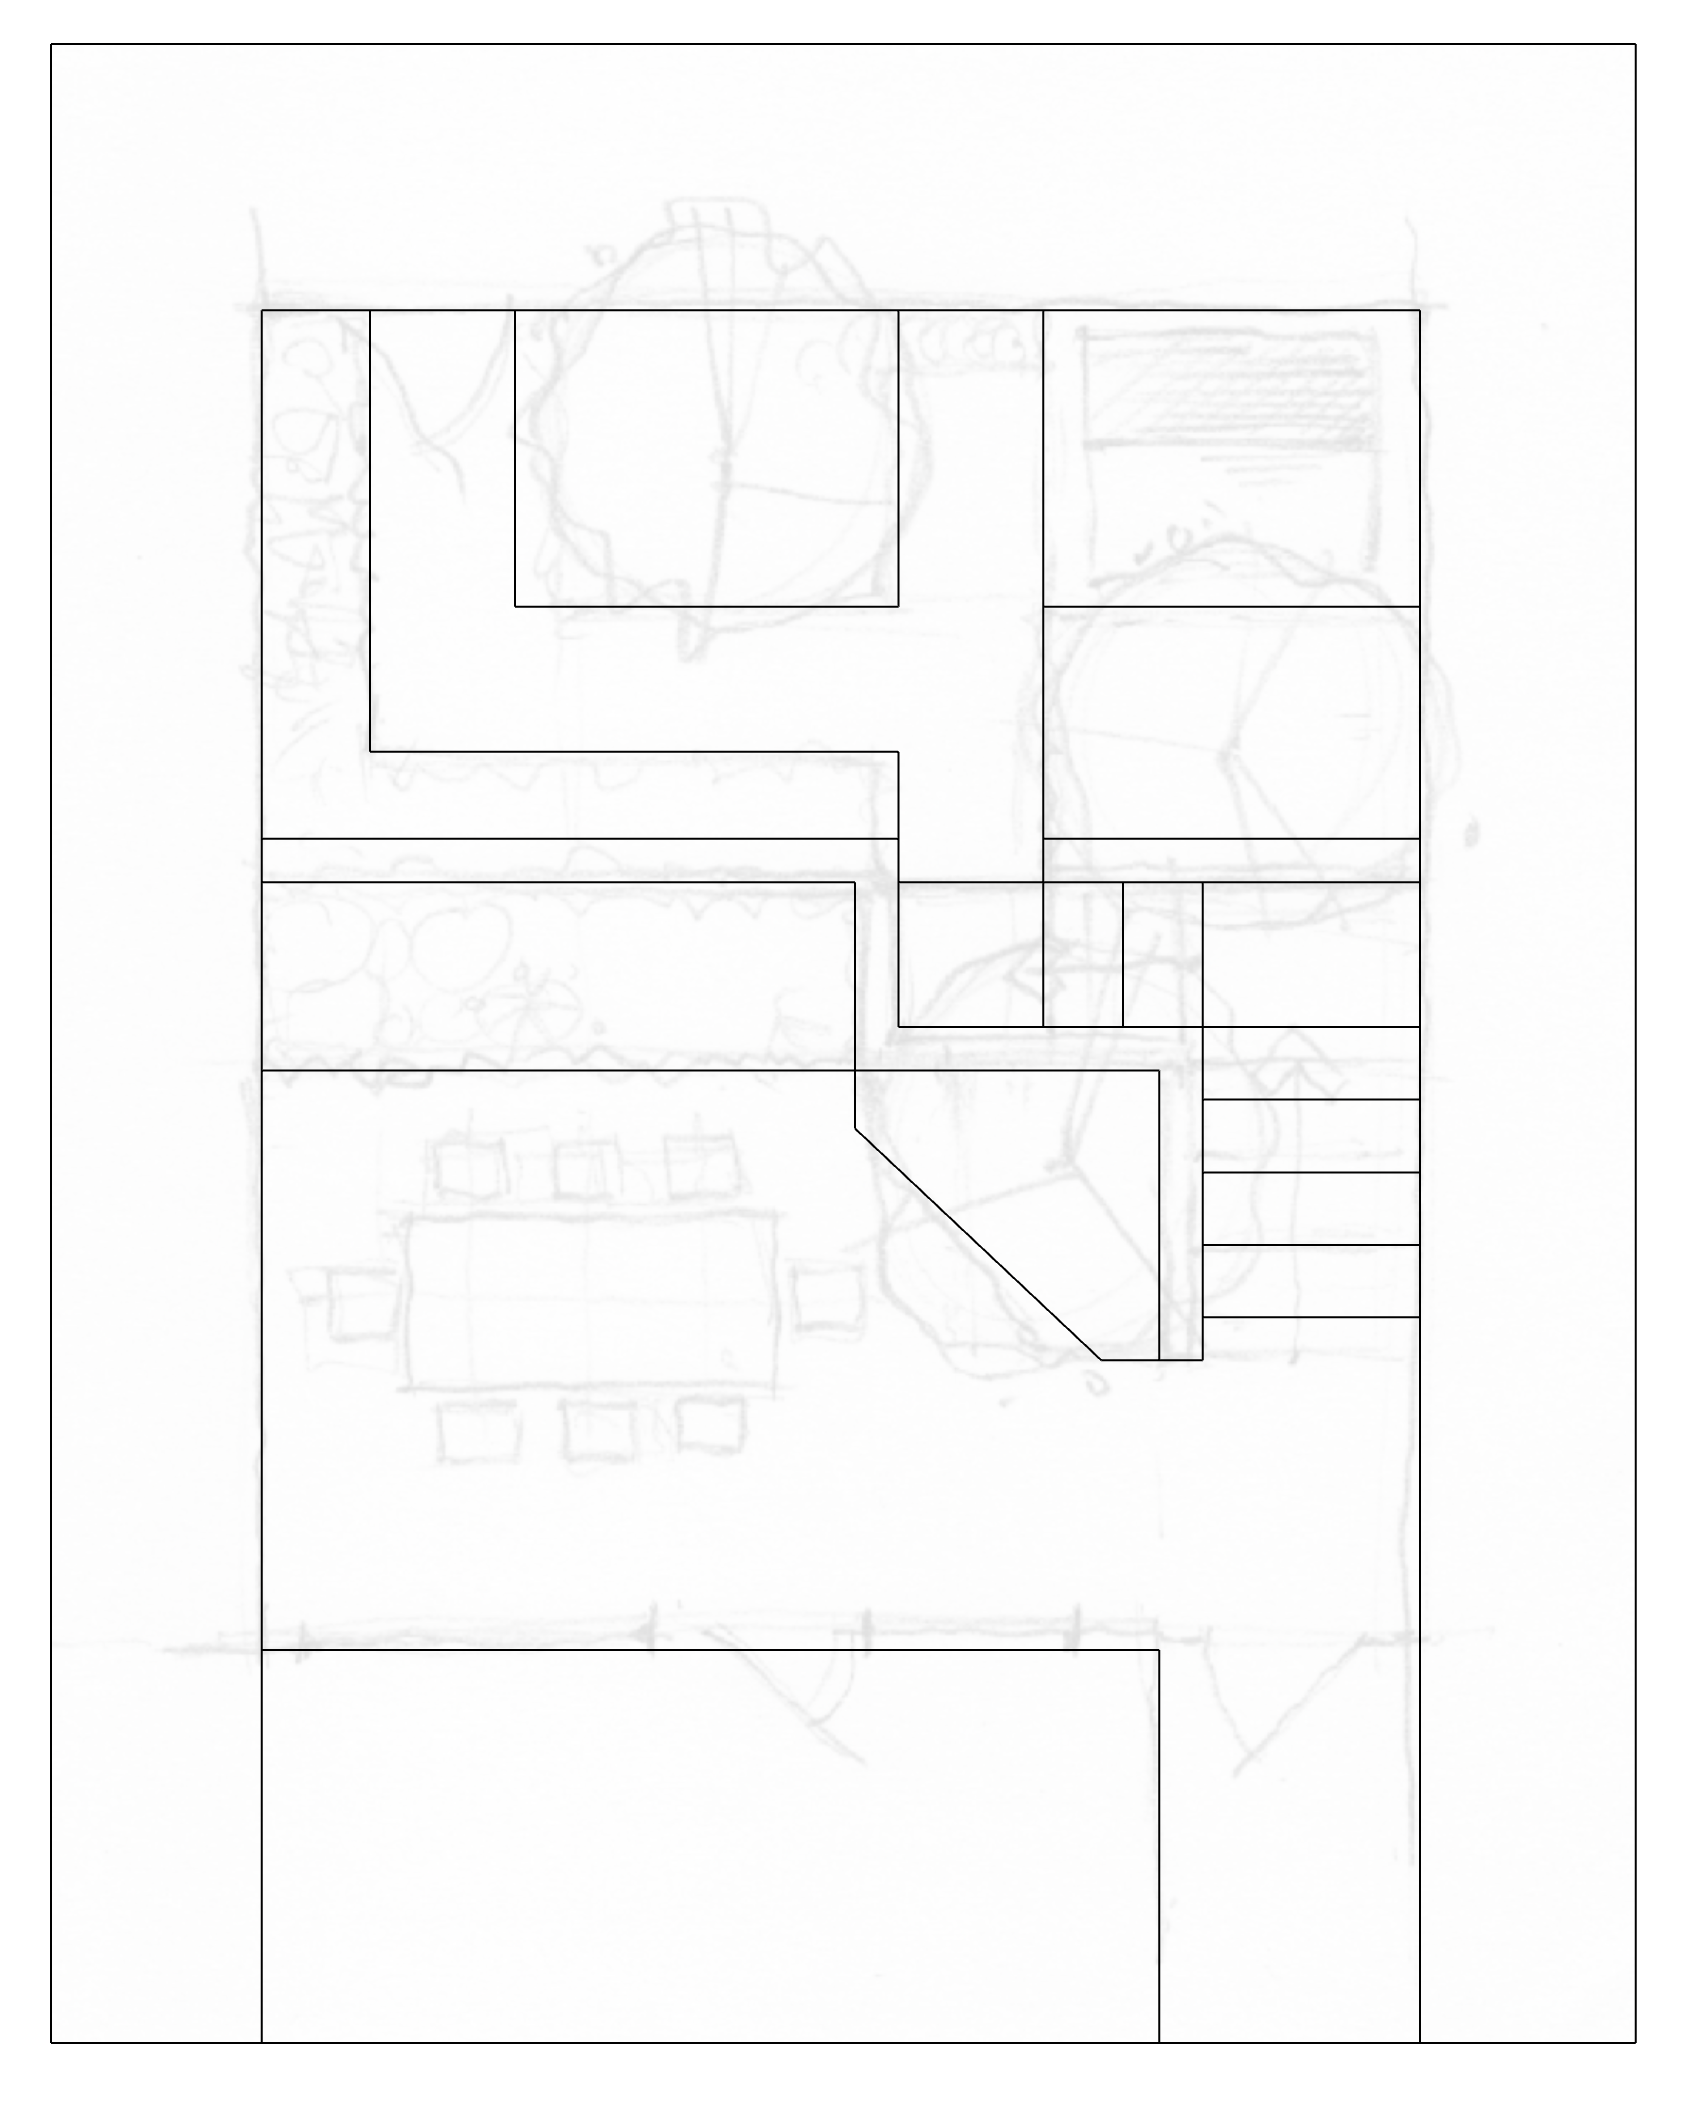
Draw over sketch

Push/pull geometry into 3D
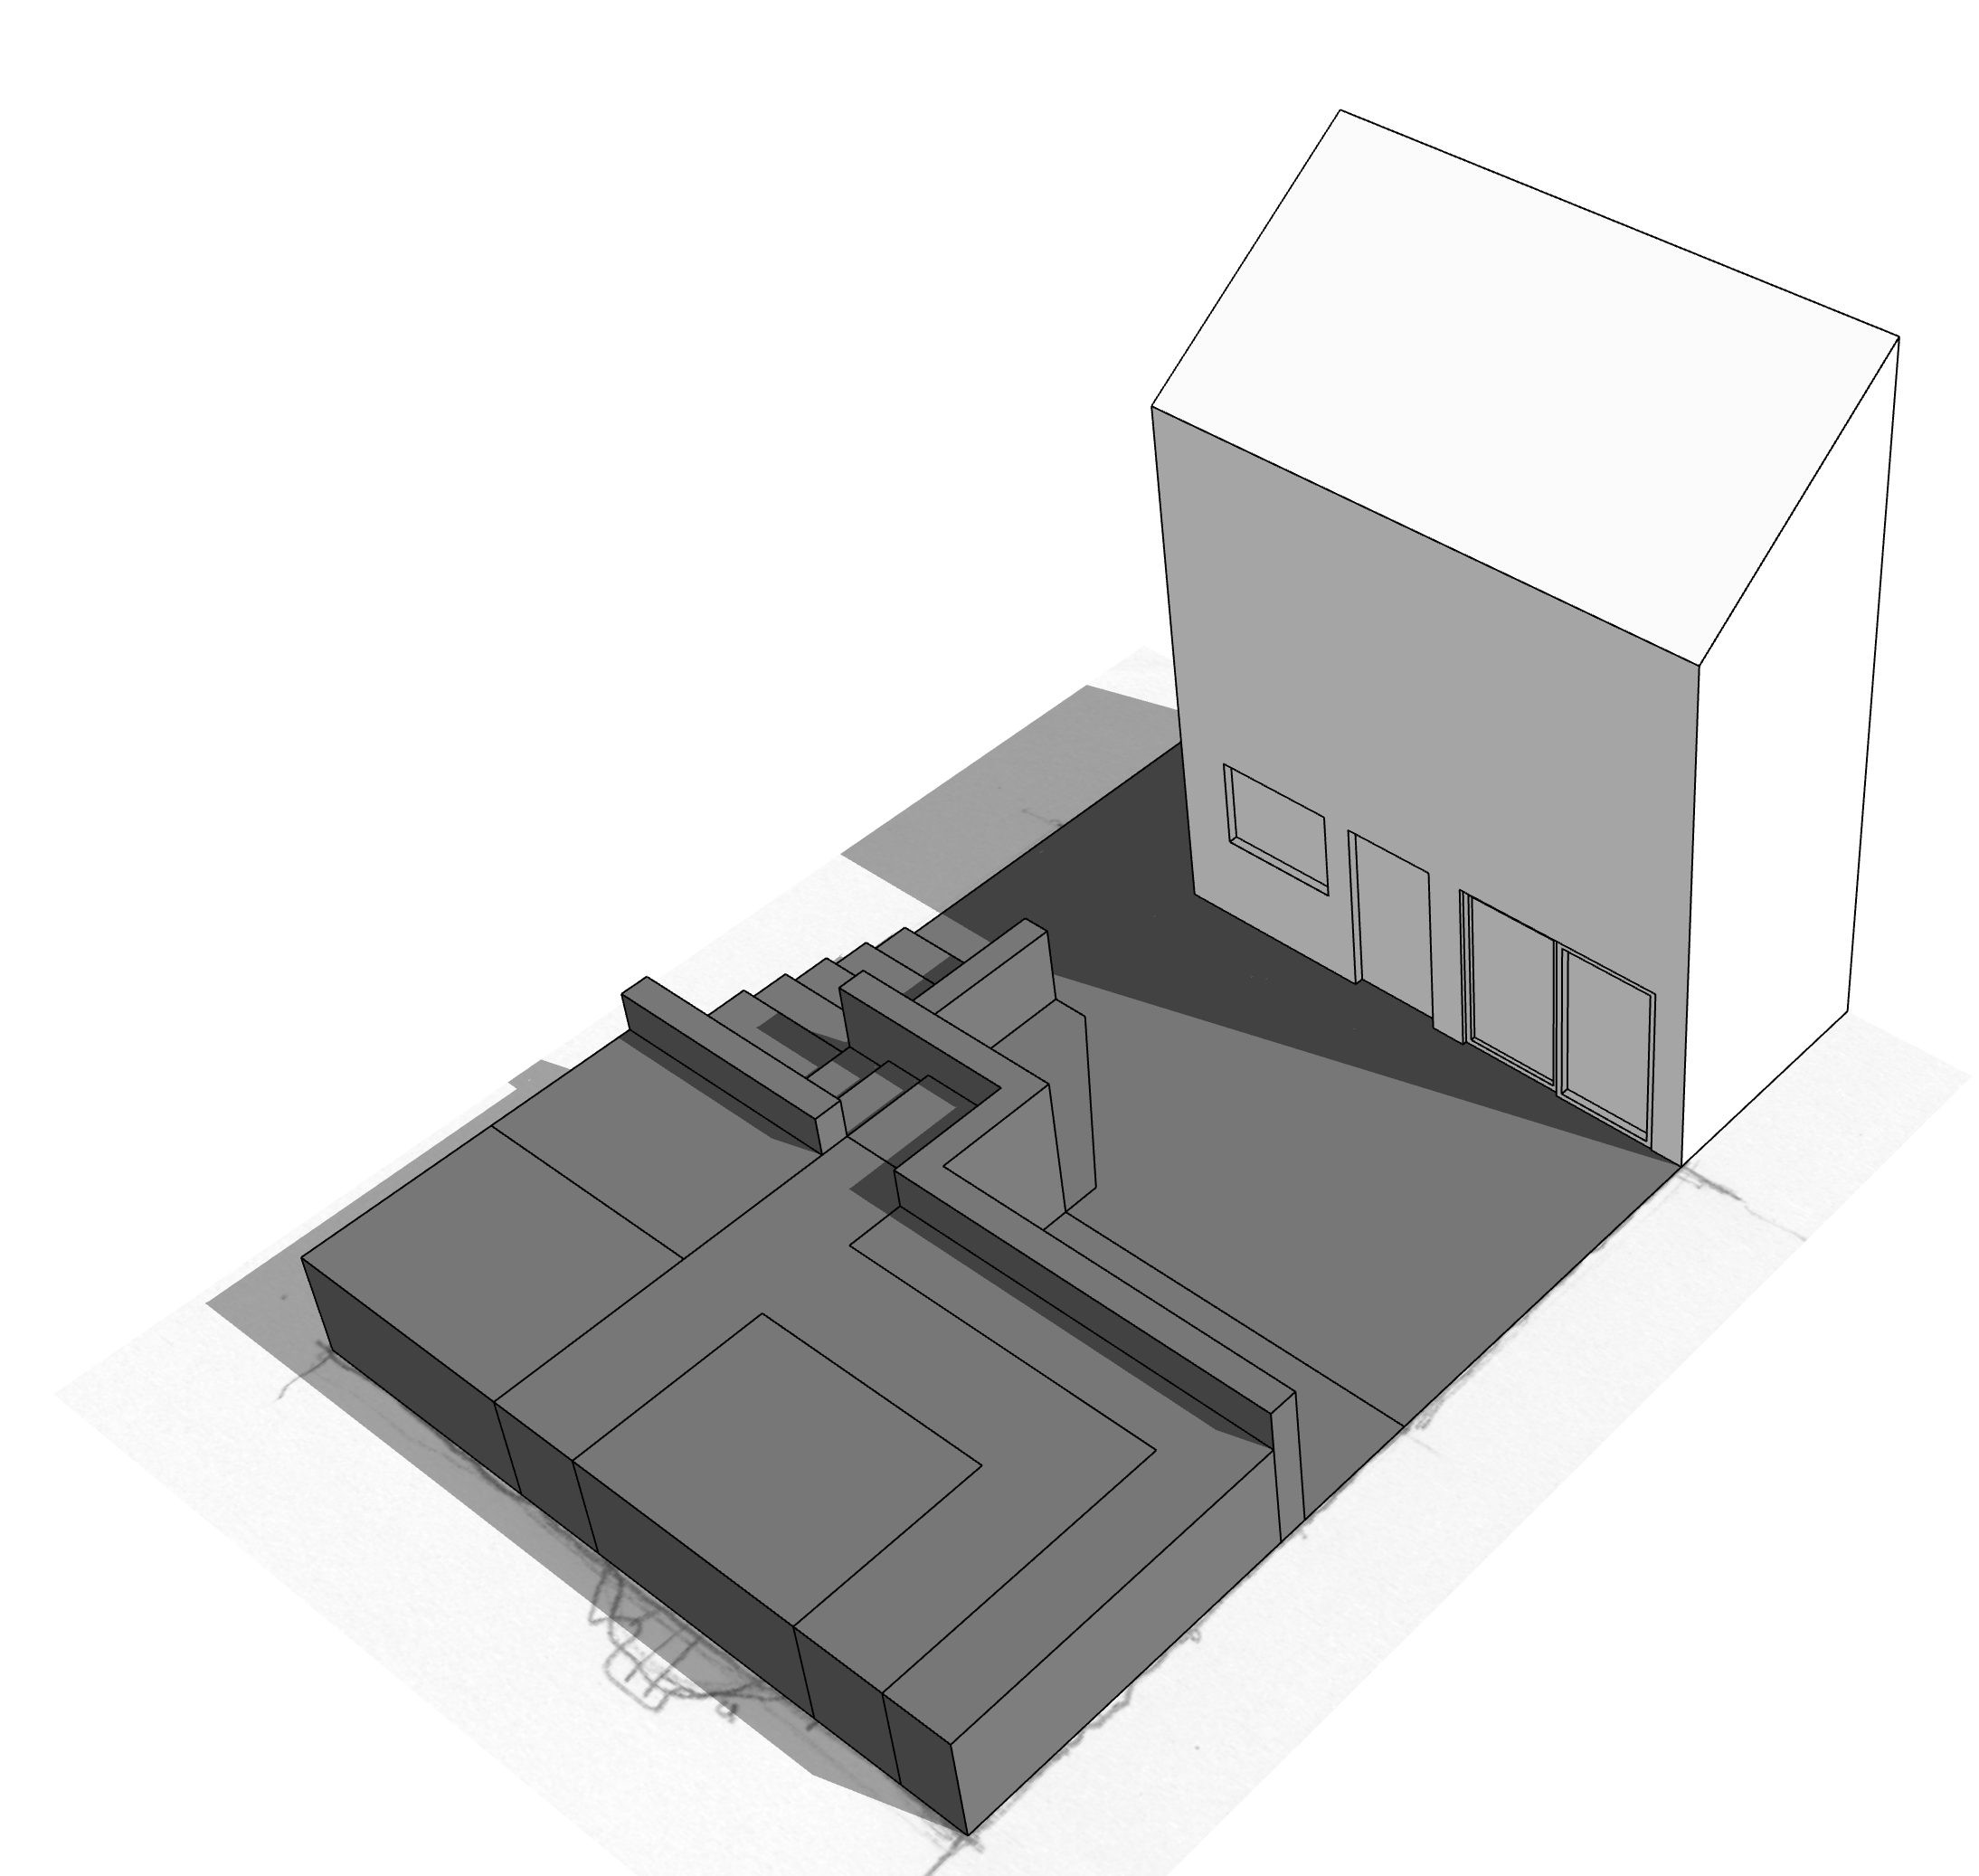
Apply shadows, add window detail, etc.
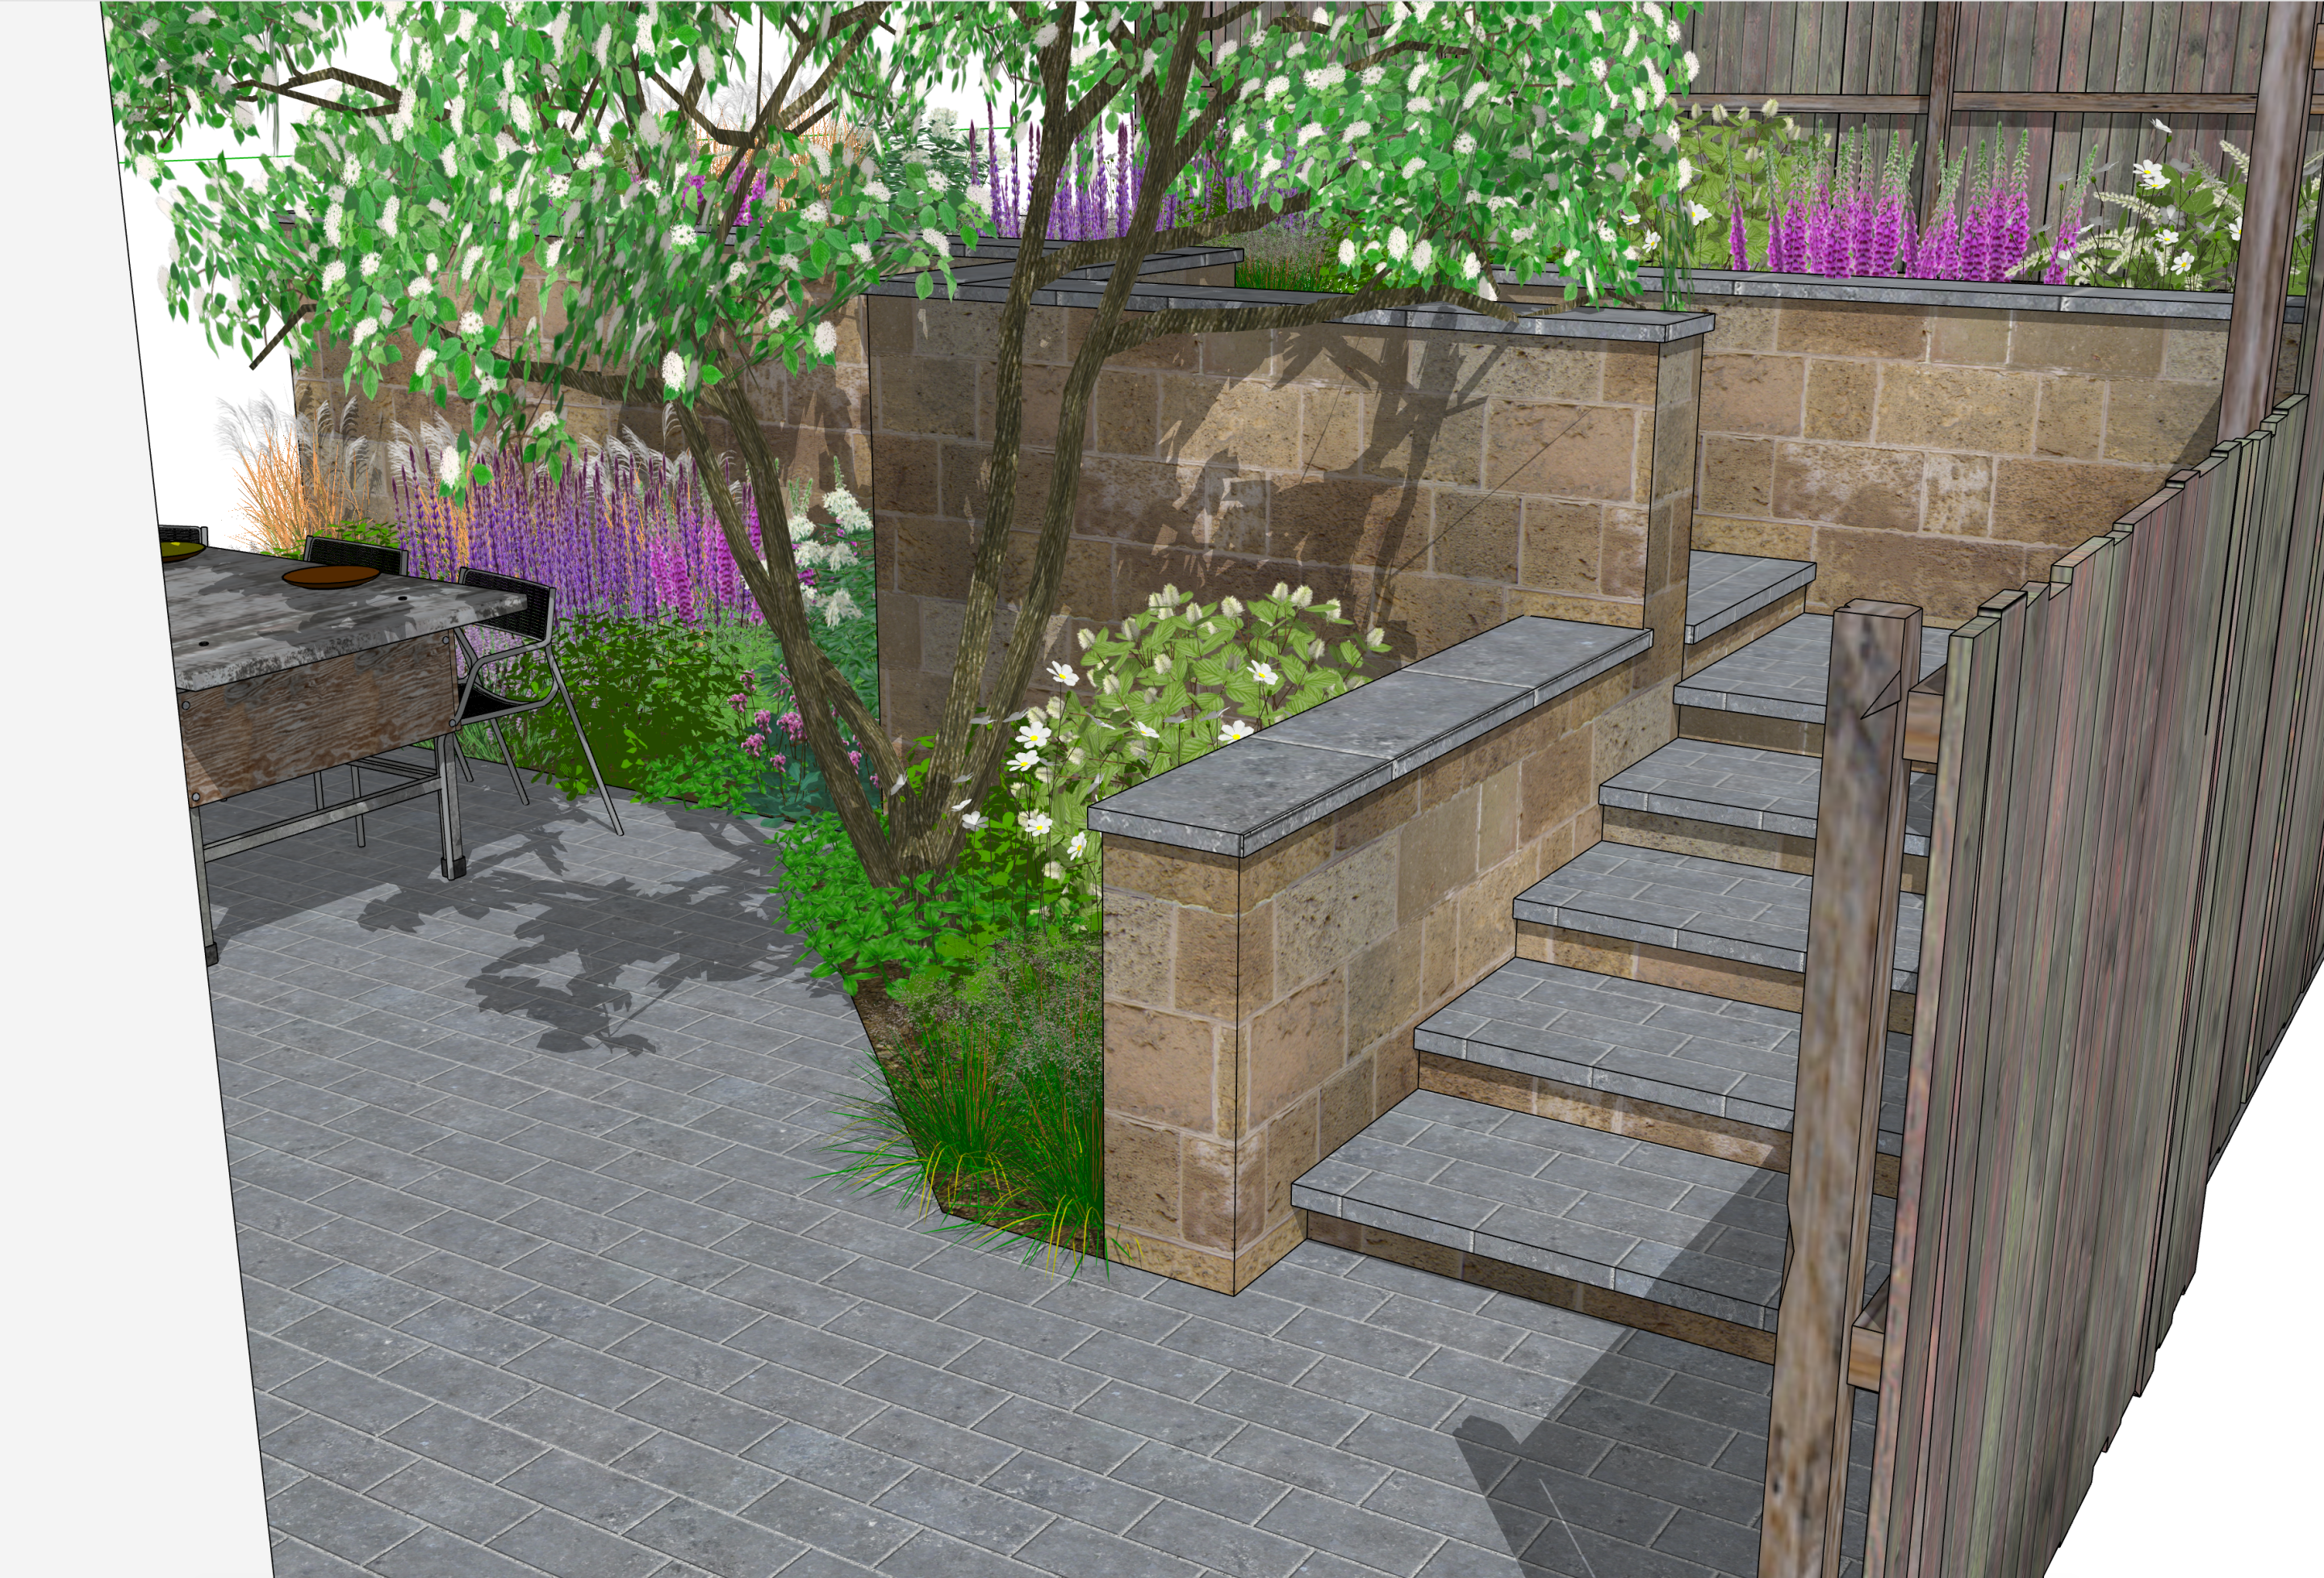
It does not have to take long to generate a 3D representation of your ideas. They might initially look bland and generic, but the addition of textures will bring the design to life. The libraries within SketchUp are adequate but will be quickly exhausted. Consider using external texture libraries – an excellent and free resource is: www.sketchuptextureclub.com.
In addition to sourcing better textures, it is worth creating a library of ‘entourage’ objects that you can drag in which will define the style and function of the garden space: furniture, planters, pots, wheelie bins, fence panels, etc. These are only needed for the final presentation shots, so ensure that they are on an appropriate layer and switched off when not needed. A good place to start is the 3D Warehouse accessed from within SketchUp. Sign in and create an online library – if you are a Pinterest user, it will feel very familiar.
Adding plants to SketchUp is probably the most requested topic in my classes. There are many approaches and much depends on the memory (RAM) of your computer as plants in SketchUp have lots of geometry. You will not be able to add species specific plants to your model, but you can get close enough in form and size. It is best to limit the number of plant models and add variety through scale and rotation creating an indicative impression. Like the entourage objects, keep plants on a separate layer and switched off when not needed.
Paul Hensey is a garden designer and landscape engineer, principal at Green Zone Design Ltd, West Sussex. His own work is split between designing private and commercial schemes. Increasingly he is also commissioned to undertake the construction detailing and engineering of schemes by other designers and practices. His entire workflow is based on SketchUp Pro, which he also teaches and lectures on privately, for several training centres and at official SketchUp events. He has written several books on construction detailing with further volumes due in later 2019/2020.
paul@paulhensey.com
https://paulhensey.eventbrite.com


0 Comments